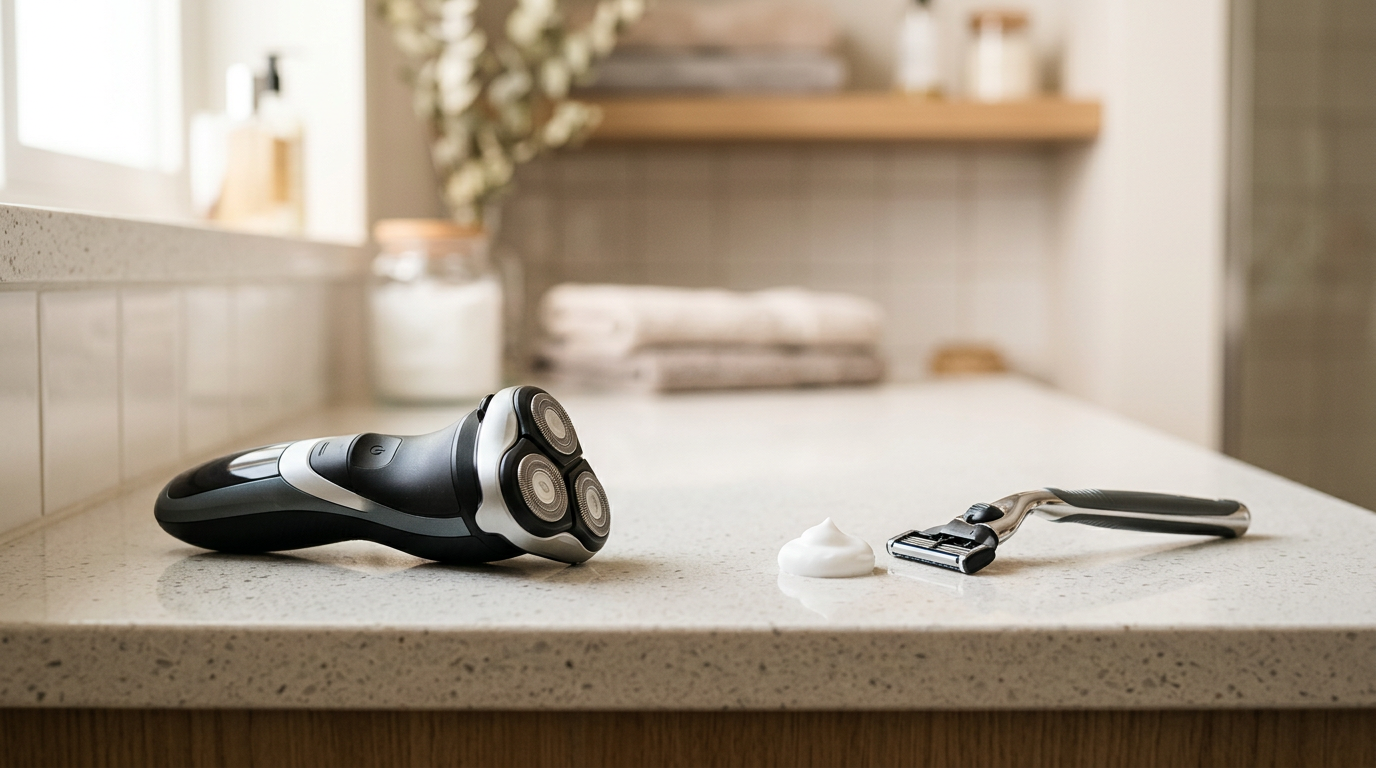
Quick answer: A reliable shaving checklist has four jobs: prepare the area, confirm the tool is ready, keep pressure and passes under control, and reset the equipment afterward. Use the full version while learning the routine, then rely on the 30-second check for regular shaves.
The point of a checklist is not to make shaving feel complicated. It is to catch the small problems that are easy to miss when you are rushed: an unprepared area, a worn cutting part, an extra pass you do not need, or a wet tool left on the counter.
The 30-Second Check
- Prepare: The area is clean, and the hair is prepared for the method I am using.
- Inspect: The razor, shaver, blade, foil, guard, cord, and attachments appear intact.
- Match: I know whether this exact tool is intended for wet use, dry use, or both.
- Control: I will use light pressure, limit repeat passes, and stop if comfort declines.
- Reset: I will clean, dry, and store the tool according to its instructions.
Download the Printable Shaving Checklist
Keep the routine within reach. Download the two-page checklist for a quick before, during, and after reference, including the stoplight rule and weekly setup reset.
If you need help choosing the basic sequence before using this checklist, start with how to build a simple shaving routine.
Before the Shave: Remove the Guesswork
Preparation should answer three questions before the cutting surface touches the skin: What result do you want today? Is the area suitable to shave? Is the tool ready?
1. Decide what “finished” means today
- ☐ I know whether I want a close finish, short stubble, cleaner edges, or a quick maintenance pass.
- ☐ I chose the tool for that result instead of switching tools without a reason.
- ☐ I will accept an adequate finish rather than keep shaving solely to chase perfect closeness.
If the choice between tools is still unclear, compare an electric shaver with a manual razor by routine fit.
2. Check the area
- ☐ The area is clean.
- ☐ The hair has been softened when I am using a manual razor.
- ☐ I can identify the direction of hair growth in the sections I plan to shave.
- ☐ There is no open wound, active bleeding, burn, or visibly worsening reaction in the shaving area.
- ☐ I will avoid an area that is already painful or significantly irritated.
The American Academy of Dermatology recommends wetting the skin and hair before a manual shave and using shaving cream or gel. For a more focused setup, follow this guide to preparing skin before shaving.
3. Inspect the tool
- ☐ The blade, foil, cutter, guard, or attachment is not cracked, bent, corroded, torn, or loose.
- ☐ The tool is clean enough to use according to its instructions.
- ☐ The cutting part is not pulling at hair.
- ☐ A removable guard or attachment is seated correctly.
- ☐ An electric tool has enough charge and no visible damage to the housing, cord, or plug.
- ☐ I have confirmed the exact model’s wet/dry, cleaning, charging, and replacement instructions.
Do not start if a cutting part is damaged, a guard will not lock, an electrical component appears damaged, the tool cannot be cleaned as directed, or the planned shaving area has an open wound or active bleeding.
4. Set out only what you need
- ☐ The mirror and lighting make the area easy to see.
- ☐ The counter is stable and reasonably uncluttered.
- ☐ Water, shaving cream or gel when required, and a clean towel are within reach.
- ☐ The tool will not be left in pooled water or on a wet surface.
- ☐ Blades, cords, chargers, and attachments are kept away from children and pets.
During the Shave: Protect the Margin for Error
A checklist cannot make every shave comfortable, but it can prevent the routine from becoming more aggressive as you pursue a closer result.
5. Match the method to the tool
- ☐ For a manual razor, I applied an appropriate shaving product unless the product directions specify another method.
- ☐ For a manual razor, my first pass follows the direction of hair growth.
- ☐ I am rinsing a manual razor as needed instead of scraping with a clogged blade.
- ☐ For an electric shaver, I am following the motion, pressure, and preparation specified for the model.
- ☐ I am not treating an electric device as waterproof or shower-safe without confirmation.
6. Control pressure and repetition
- ☐ I am using light pressure.
- ☐ I am working in short, controlled sections.
- ☐ I am checking the result before repeating a pass.
- ☐ I have reapplied lubrication before another manual-razor pass when needed.
- ☐ I will stop when the result is acceptable or the area becomes uncomfortable.
7. Use the stoplight rule
Green: Continue carefully
The tool moves normally, the area feels typical for you, and the result is improving without repeated scraping.
Yellow: Pause and correct
The tool begins pulling, the blade clogs, the product dries, or you notice that you are pressing harder. Pause to rinse, reapply lubrication when appropriate, inspect the tool, or accept the current result.
Red: End the shave
Stop for sharp pain, a cut, active bleeding, burning that is worsening, unexpected swelling, a visibly damaged cutting part, or an electrical problem. Do not make another pass to “even things out.”
Persistent or worsening symptoms may need qualified medical evaluation. See when to stop shaving an irritated area and seek professional advice.
After the Shave: Reset Before You Leave
8. Rinse and review the area
- ☐ I removed residual shaving product and loose hair.
- ☐ I checked the result in good light before deciding whether another pass was necessary.
- ☐ I chose comfort over an unnecessarily close finish.
- ☐ I used only a finishing product I already tolerate and followed its label.
- ☐ I did not apply a new product to an area that was already irritated.
9. Clean, dry, and store the tool
- ☐ I removed hair and residue using the manufacturer’s cleaning method.
- ☐ I did not rinse a device or component unless its instructions permit water cleaning.
- ☐ I allowed the razor or removable parts to dry as directed.
- ☐ I did not leave a manual razor in the shower or on a wet sink.
- ☐ I replaced caps, guards, and attachments without trapping moisture.
Cleaning rules vary by tool. Use the model-specific approach described in how to clean and store a razor according to product directions.
10. Record the next action
- ☐ Replace a blade, foil, cutter, guard, or attachment that is damaged or no longer performs normally.
- ☐ Confirm that a replacement part matches the exact tool model.
- ☐ Recharge the device if needed.
- ☐ Refill the shaving product before the next planned shave.
- ☐ Note any recurring discomfort so only one routine variable is changed next time.
The American Academy of Dermatology gives a general benchmark of replacing a disposable razor or blade after five to seven shaves and cleaning an electric razor on a similar schedule. Treat those numbers as reminders, not guarantees. Tool condition and current manufacturer instructions still control.
The Weekly Two-Minute Reset
- ☐ Remove loose hair and product buildup from the storage area.
- ☐ Check the supply of compatible blades, replacement parts, and shaving product.
- ☐ Inspect guards, foils, cords, plugs, chargers, and attachments.
- ☐ Confirm that products are stored correctly and remain within any labeled use period.
- ☐ Notice whether shaving is taking longer or requiring more passes.
- ☐ Change one variable at a time if the routine needs adjustment.
The Four Words to Remember
- Prepare: Clean and soften the hair, inspect the area, and set out the correct supplies.
- Inspect: Confirm that the cutting part, attachments, and electrical components are ready.
- Control: Use the method intended for the tool, light pressure, and only necessary passes.
- Reset: Rinse the area, clean and dry the equipment, and record anything needed next time.
A good checklist removes decisions you should not have to remake every time. Keep it short enough to follow and specific enough to catch a problem before it becomes part of the habit.